How to Change the Owner's Name on a Canon EOS 20D
Written on May 18th, 2024
About a year ago, I had been struck by the idea of trying my hand at photography. I had always been surprised by the level of detail that came from pricey DLSRs, something that simply cannot be matched by my smartphone's camera. So, after about a week's worth of research and shopping around later, I took the plunge and ordered the camera that I currently use: a secondhand Canon EOS 20D. When it eventually came in the mail and I got my hands on it, its outward appearance looked just like all the cutting-edge cameras I had seen professional photographers use.
However, after using it for a few weeks, I started to see how the age on this twenty-year-old camera shows. After uploading my first dozen shots to my laptop, I noticed in the metadata something odd. Under “Owner's Name”, every picture I had taken was attributed to the late Nicholas Brezonik, who I assume was the previous owner of the camera. For the good part of two days, I tried searching online to figure out how to change the name, downloading (relatively) ancient software and combing through forum posts as old as the camera itself. Despite my best efforts, I could not find the solution.
Fast-forward to last week.
I was bored one day after studying for my final exams, and my thoughts spontaneously wandered over to this issue with my camera.
I thought to myself, What if the problem is not due to the software being too old, but my laptop being too new?
Hours of experimentation later, I had successfully change the Owner's Name, something I thought was impossible!
Nicholas Brezonik, whoever you are, if you're somehow reading this, thank you for such a well-maintained camera, and I wish you well.
Alright, enough about me, here's how I did it:
Prerequisites
- A copy of a Windows XP 32-bit ISO. I used this file from the Internet Archive. You'll need torrenting software to download the file (protip: use qBittorrent!)
- An installed copy of Oracle VM VirtualBox.
- A copy of the EOS Digital Solution Disk Software from Canon India.
- A copy of the Canon WIA Driver from Canon Europe.
Steps (With Pictures!)
-
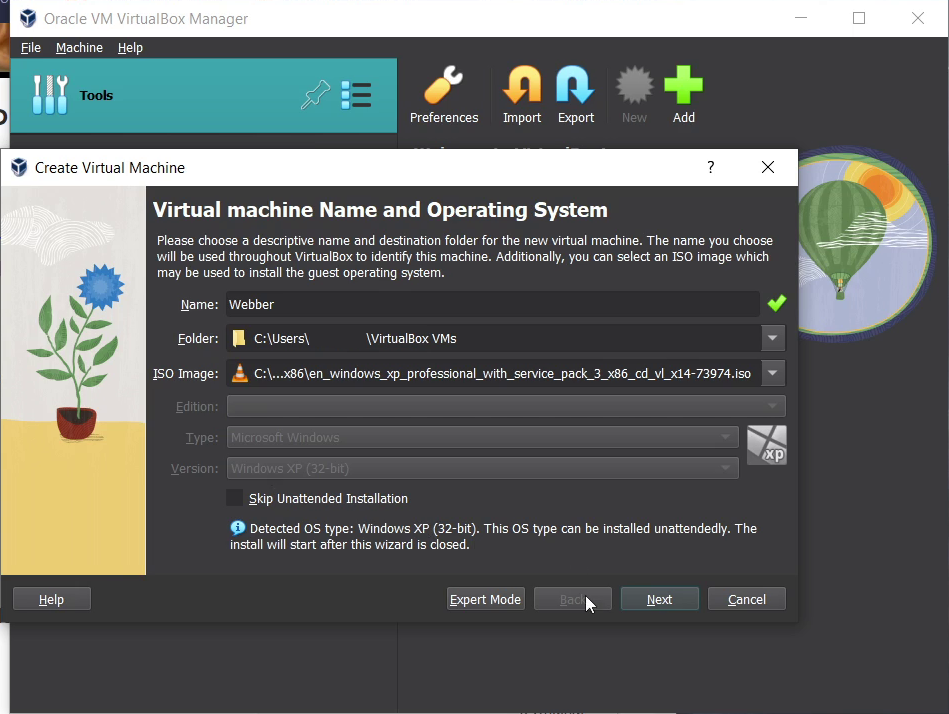
Once Installed, open Oracle VM VirtualBox.
Click the green plus button, labelled
Add. In theCreate Virtual Machinewindow, underISO Image, browse to where you downloaded the ISO image. The dialog box should recognize the software as Windows XP 32-bit. Then pressNext. -
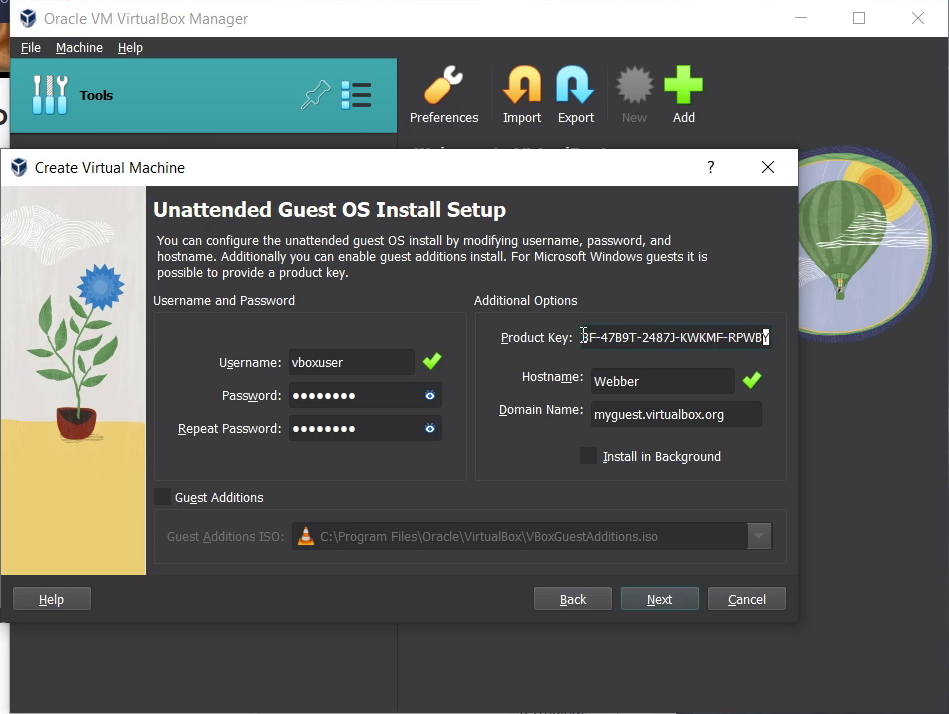
Under Product Key, enter the product key.
If you're using the version I linked, I have reproduced it here:
MRX3F-47B9T-2487J-KWKMF-RPWBYThen pressNext. -
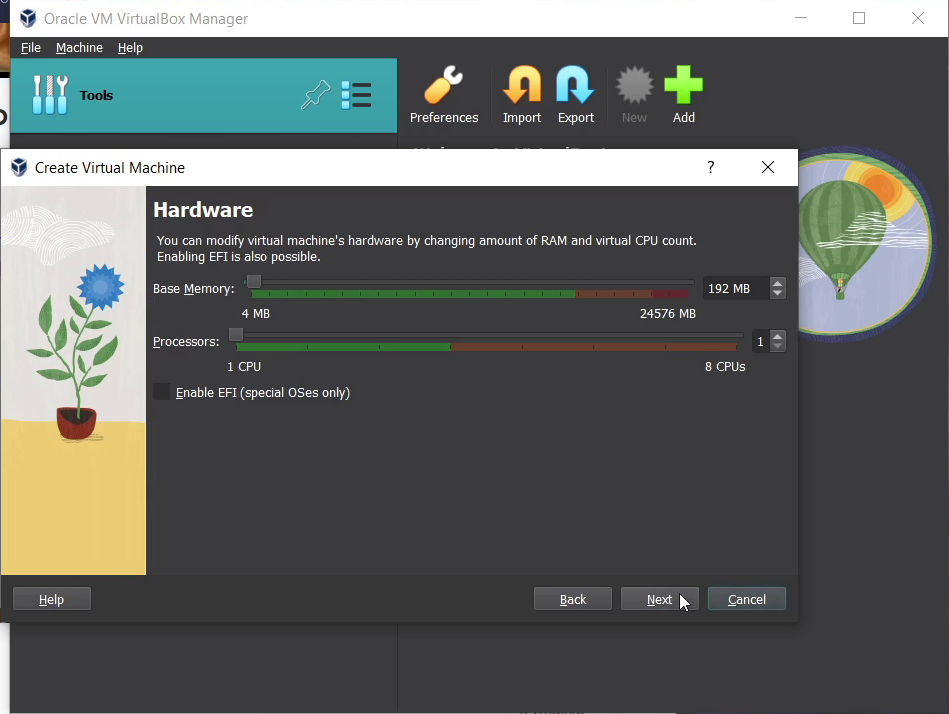
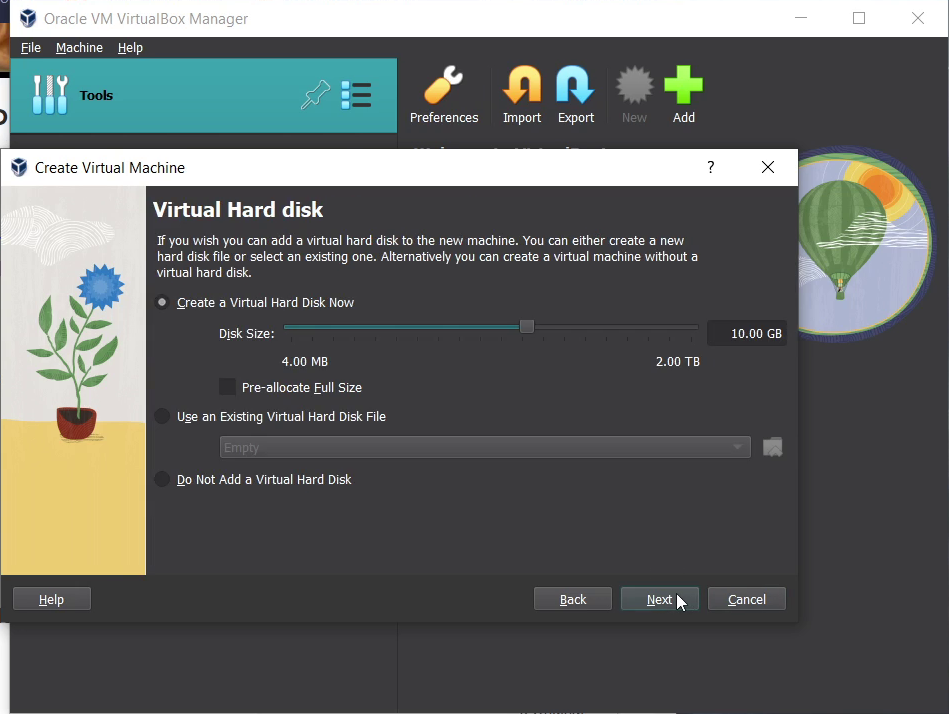
Press
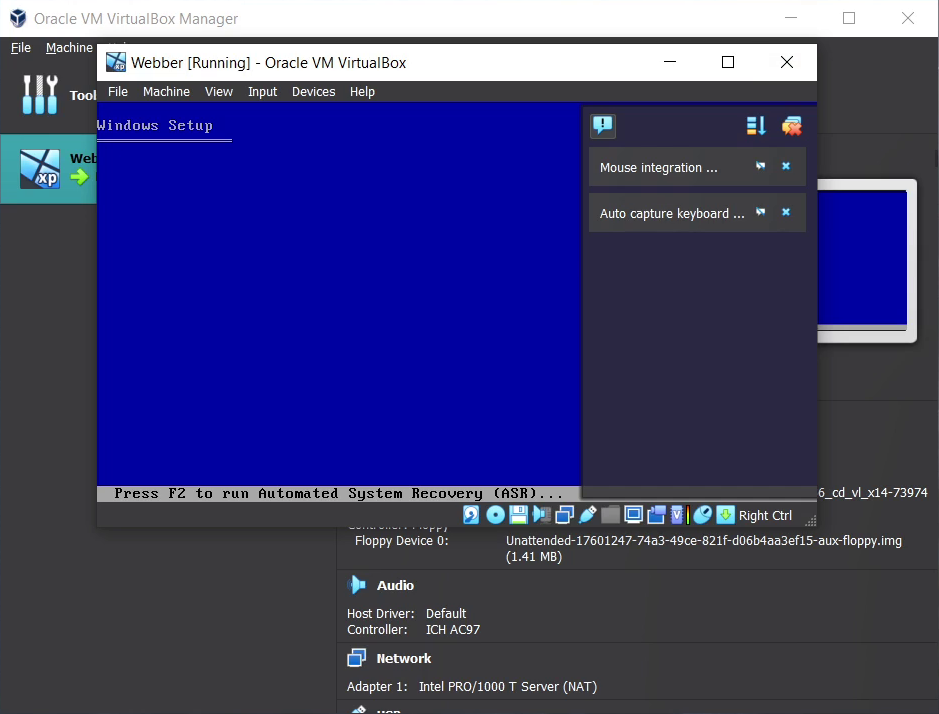
Nextthrough the next two screens. - Once setup is complete, the VM should start, and Windows XP should begin to install. The time it takes to install depends on your system's speed. My laptop has an SSD, so it took me about five minutes.
-
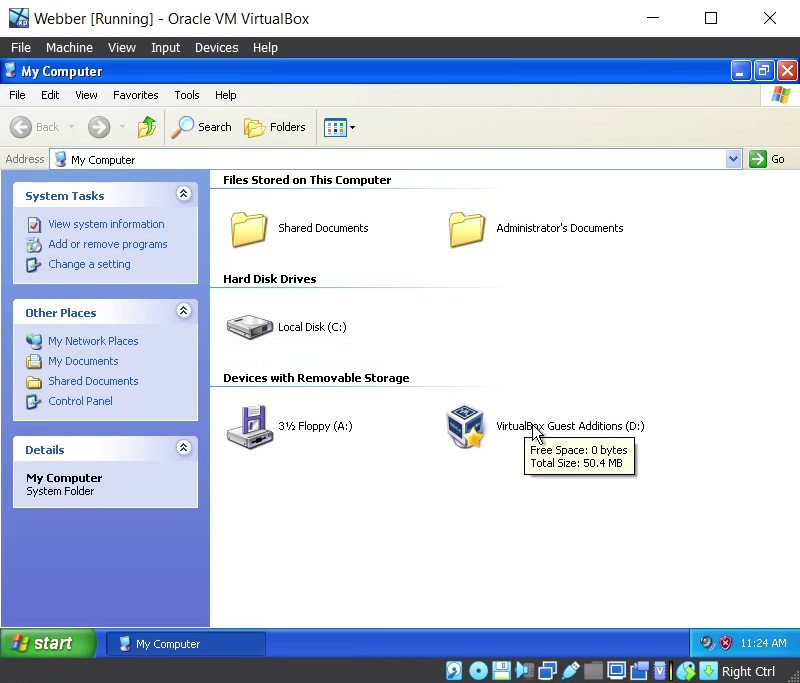
Once you arrive at the desktop in Windows XP, hover your mouse over to the VM toolbar on the top, and go to
Devices > Insert Guest Additions CD image.... Back inside XP, go toStart > My Computer. Under the heading Devices with Removable Storage, the VirtualBox Guest Additions drive should be there. Double click to run and follow the installation instructions. Reboot when prompted. -
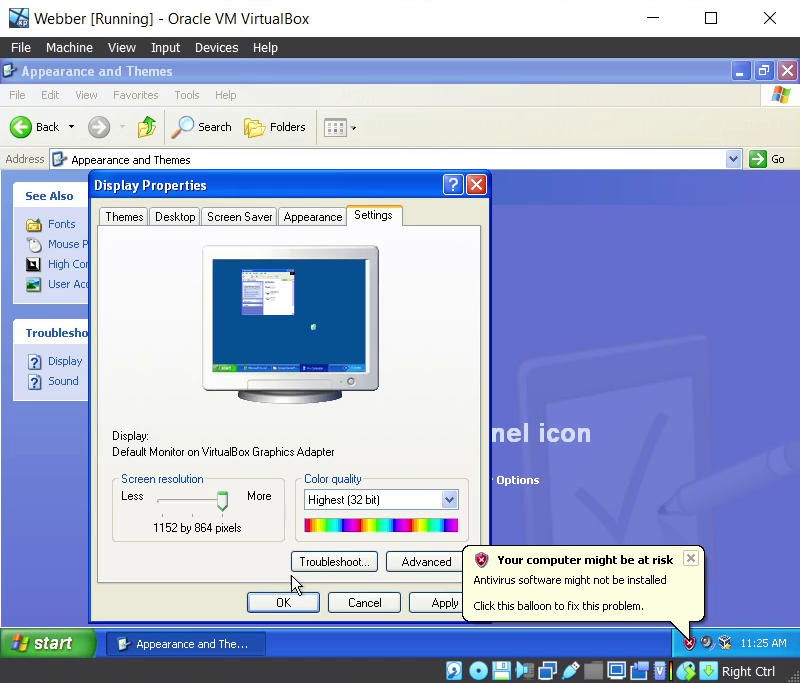
Once rebooted, go to
Start > Control Panel > Appearance and Themes > Change the Screen Resolution. Set to any value higher than 1024x768. -
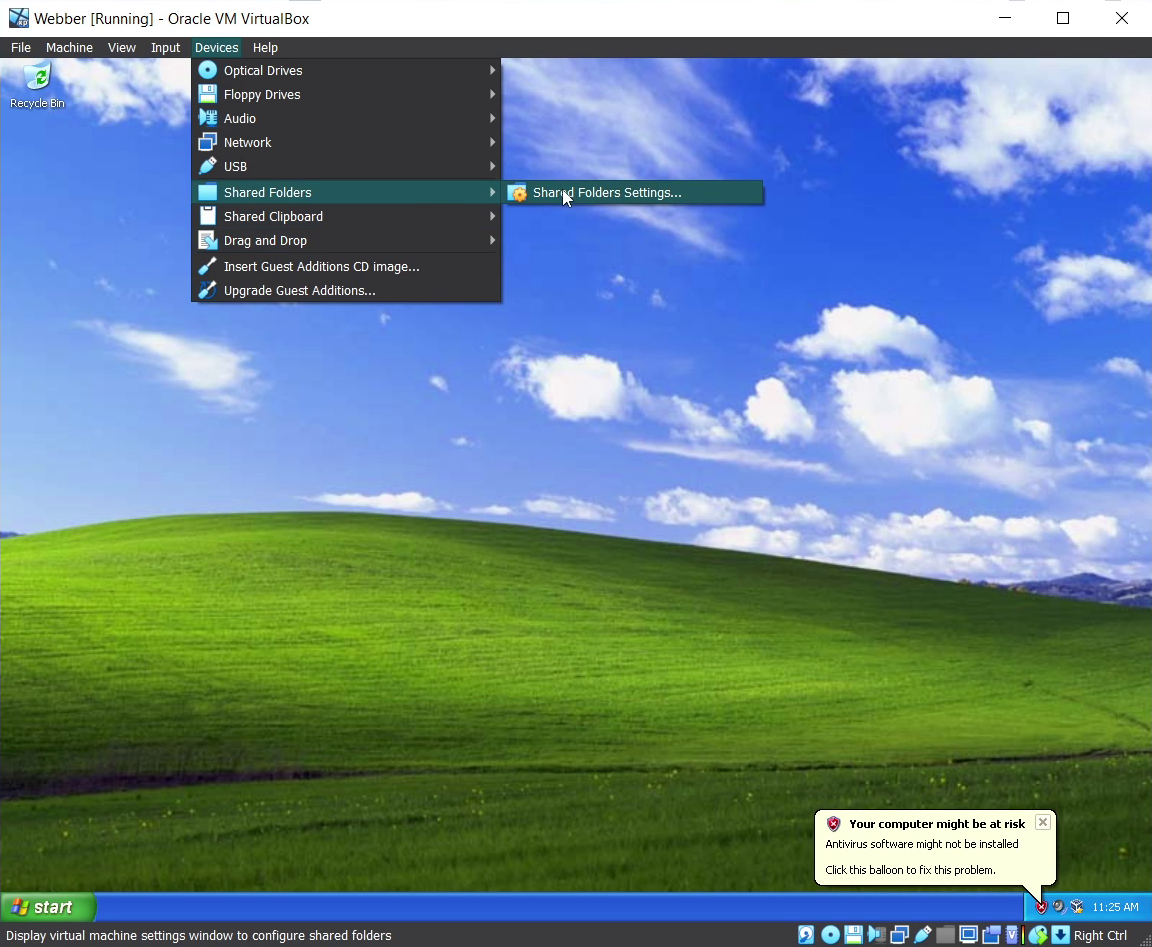
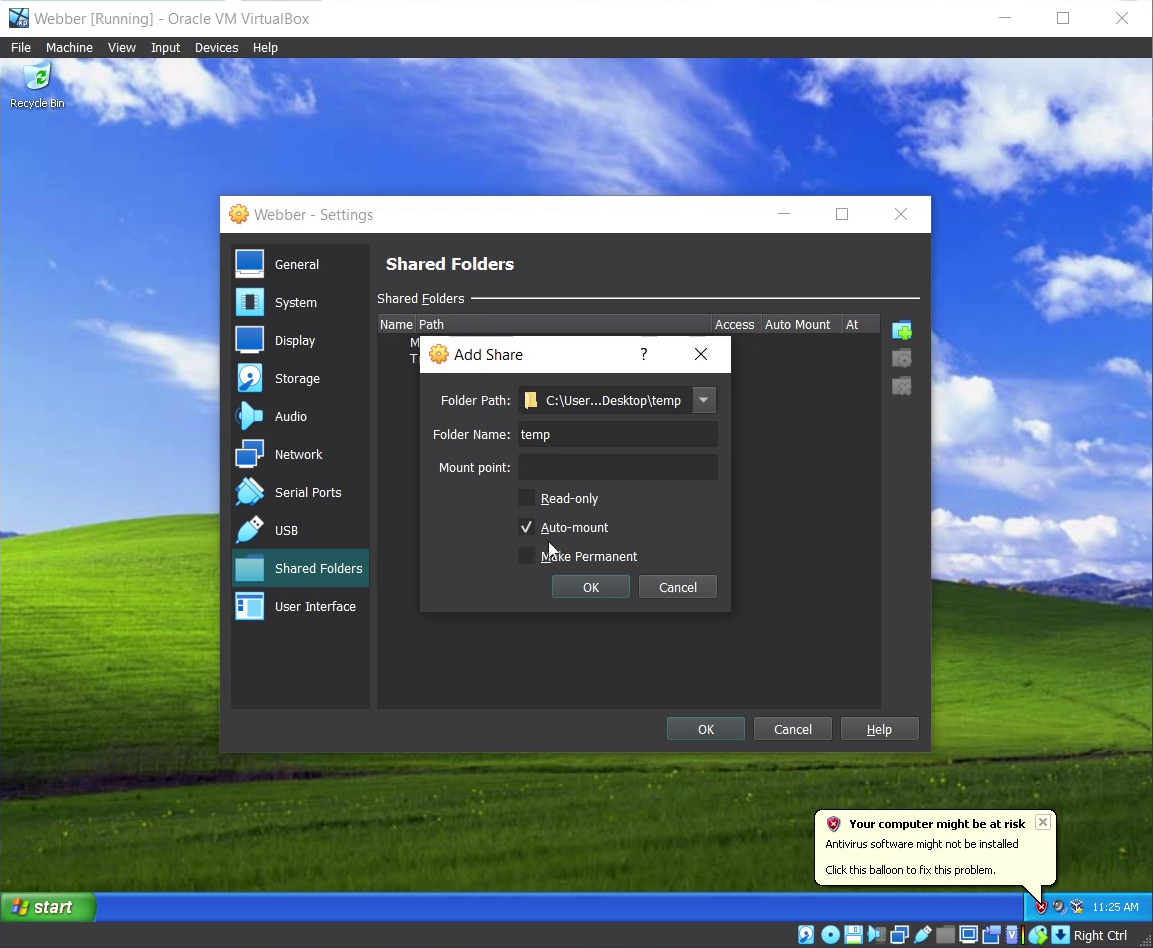
Hover your mouse over to the VM toolbar on the top again and go to
Devices > Shared Folders > Shared Folders Settings.... In the Shared Folders window, click theCreate Folderbutton on the right. In the dialog box, under Folder Path, navigate to where you downloaded the two files from Canon's website. For this example, I downloaded them into a folder on my Desktop calledtemp. Check theAuto-Mounttickbox. PressOKto close the dialogue, thenOKwhen back in the main dialog. -
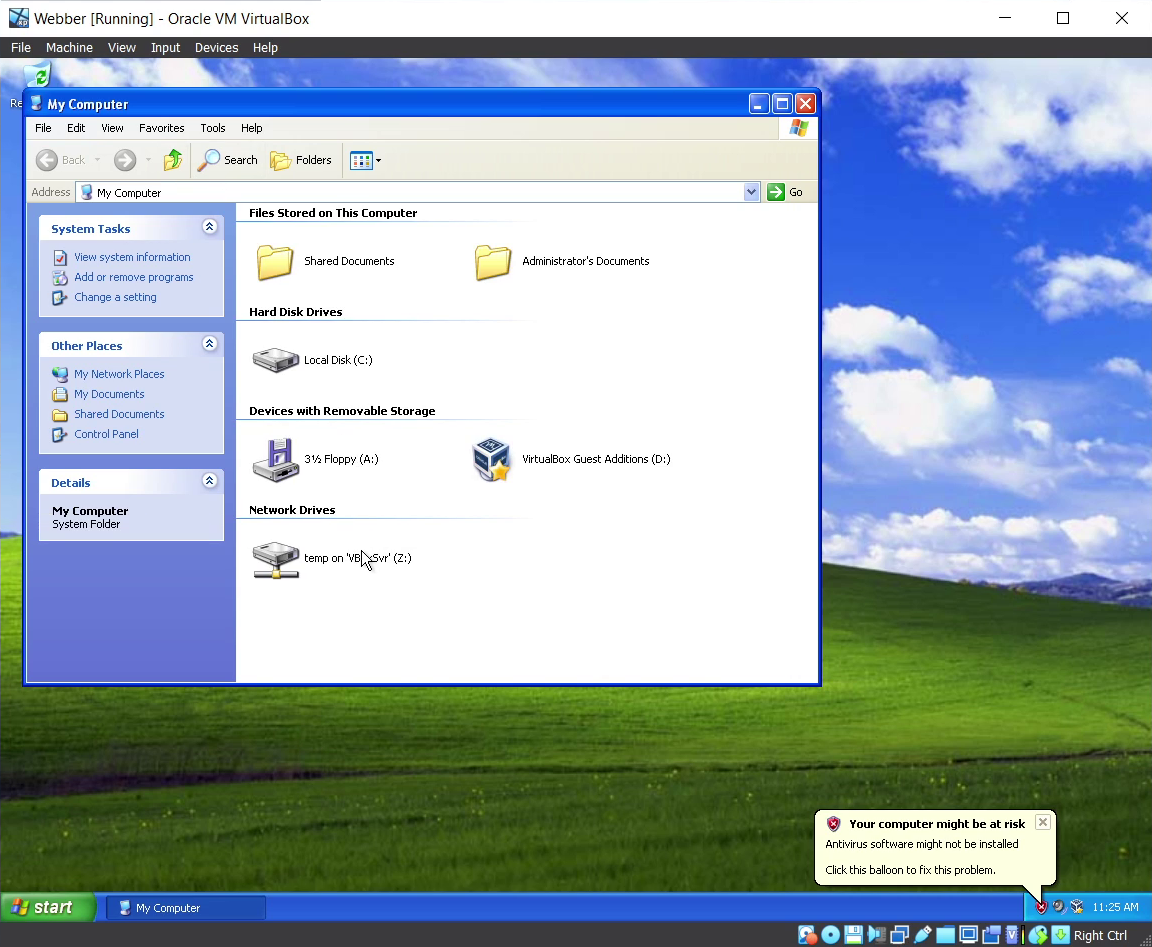
Go to
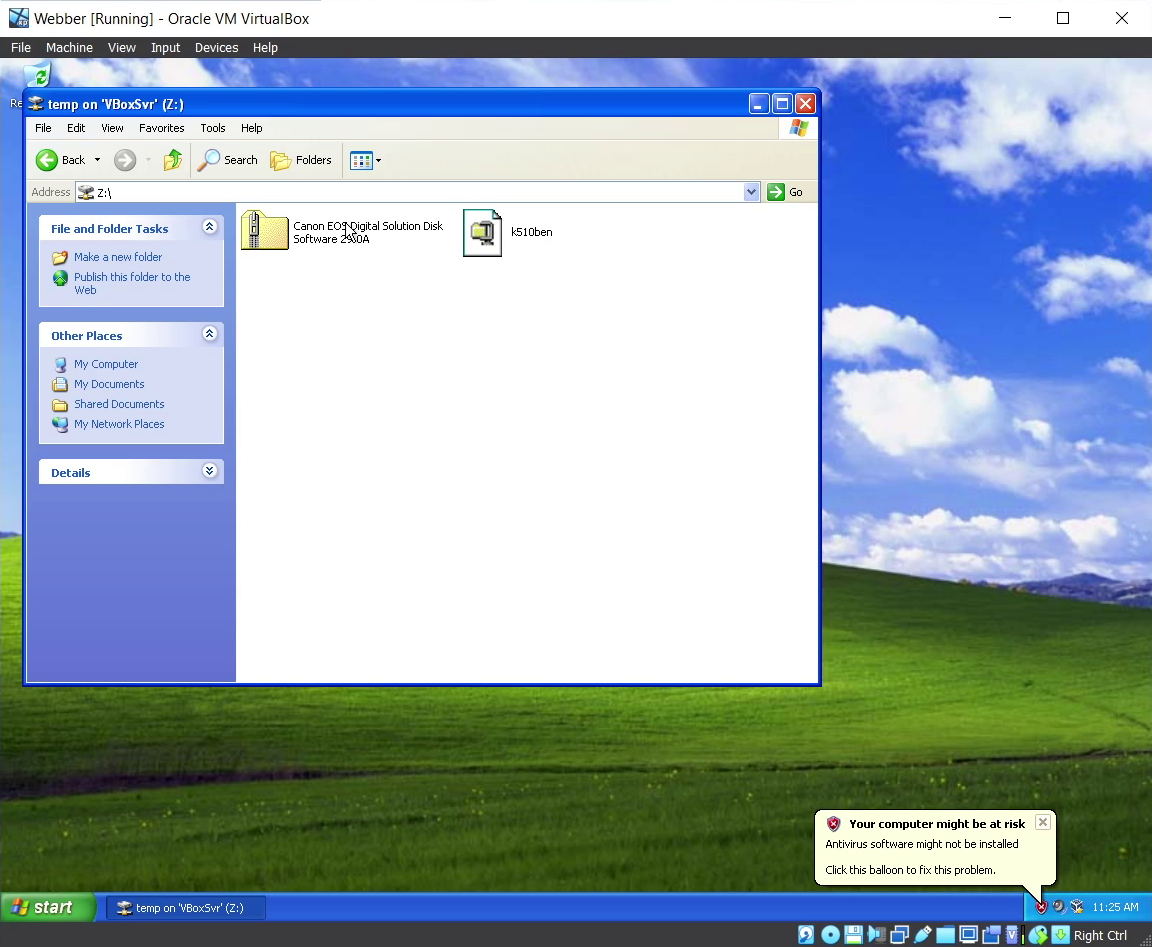
Start > My Computer. Under the heading Network Drives, you should see the folder that you selected. Open it, then drag and drop both downloaded files onto the Desktop. -
Open
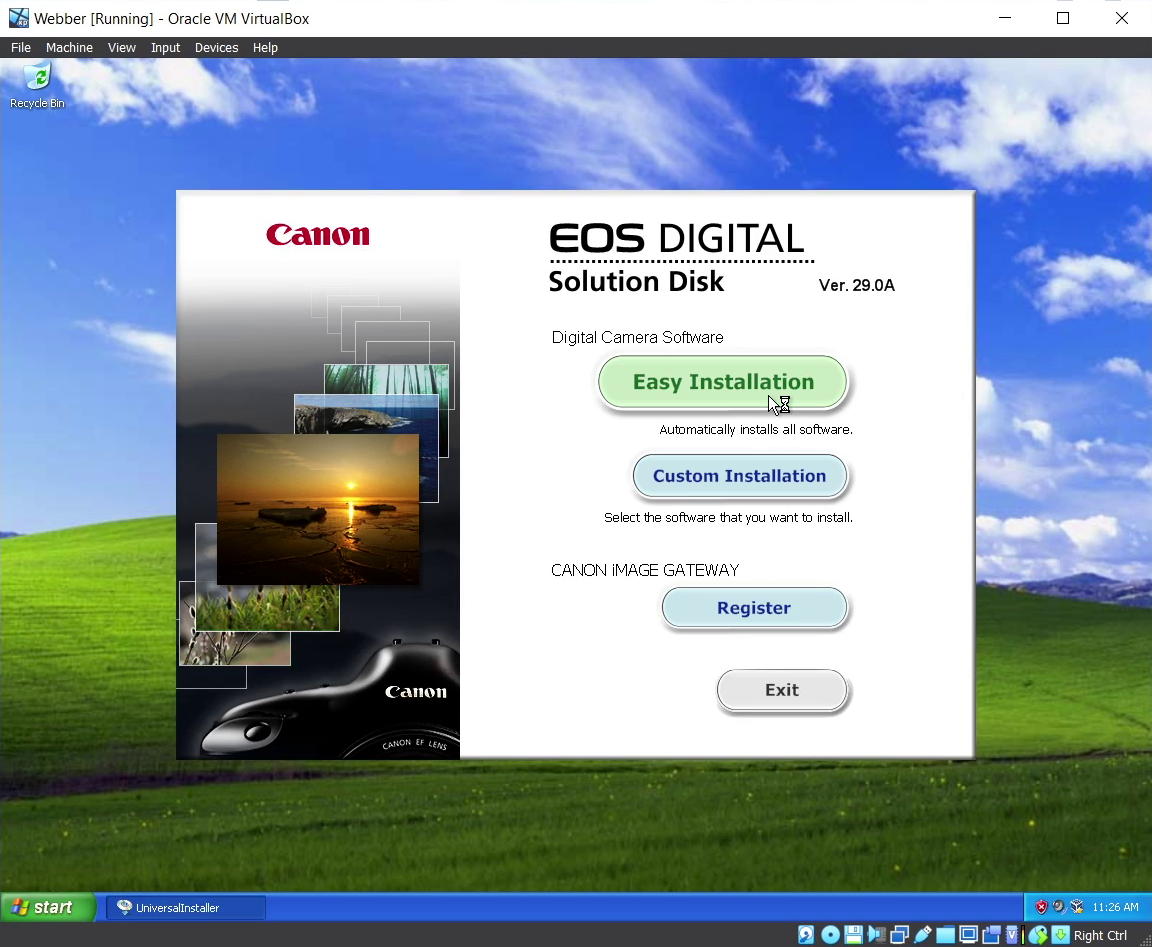
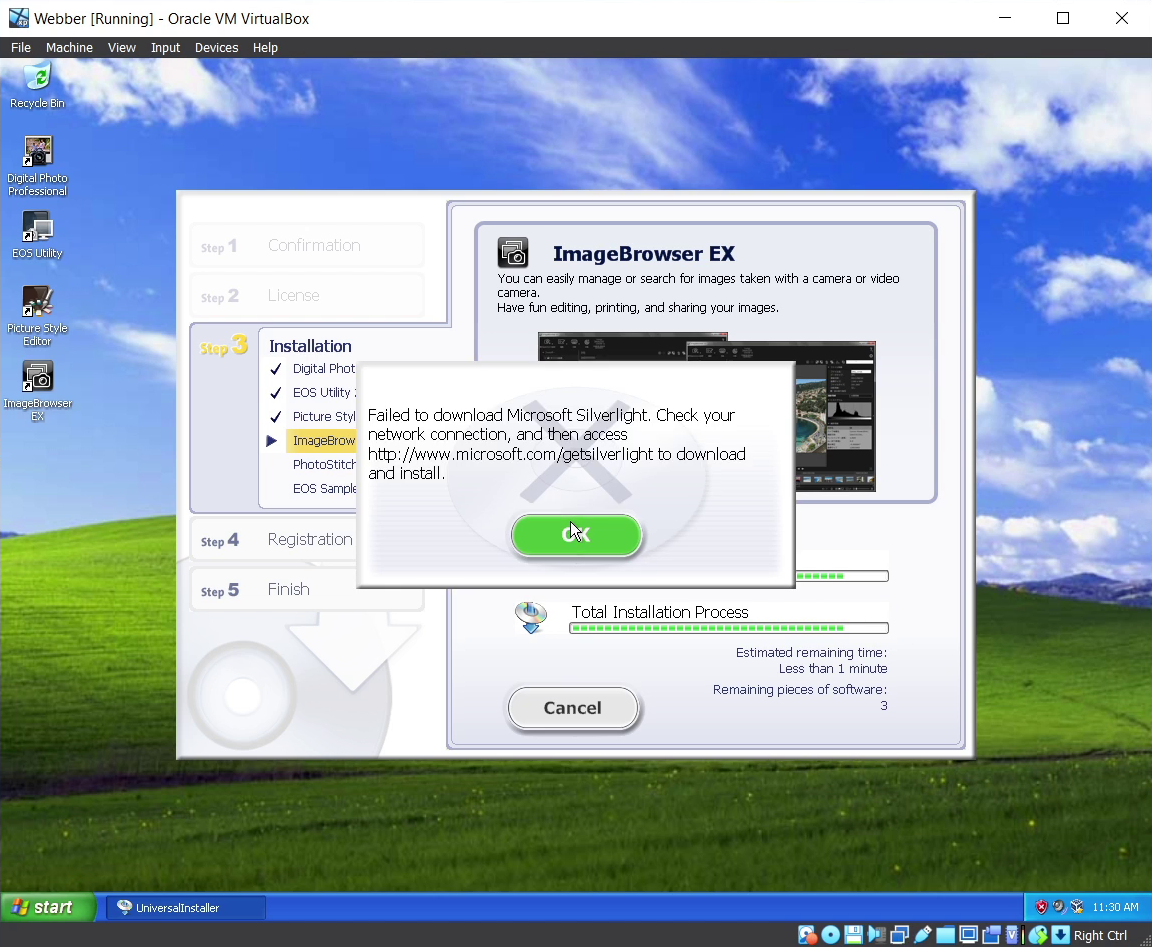
Canon EOS Digital Solution Disk Software 29.0A.zip. Inside there should be a file calledksd290a_installer.exe.Run the file and follow the installation instructions (chooseEasy Install
). The installation process should take a few minutes. When the installer tries to install ImageBrowser EX, it might fail to download Microsoft Silverlight. For our use case, this isn't an issue.
-
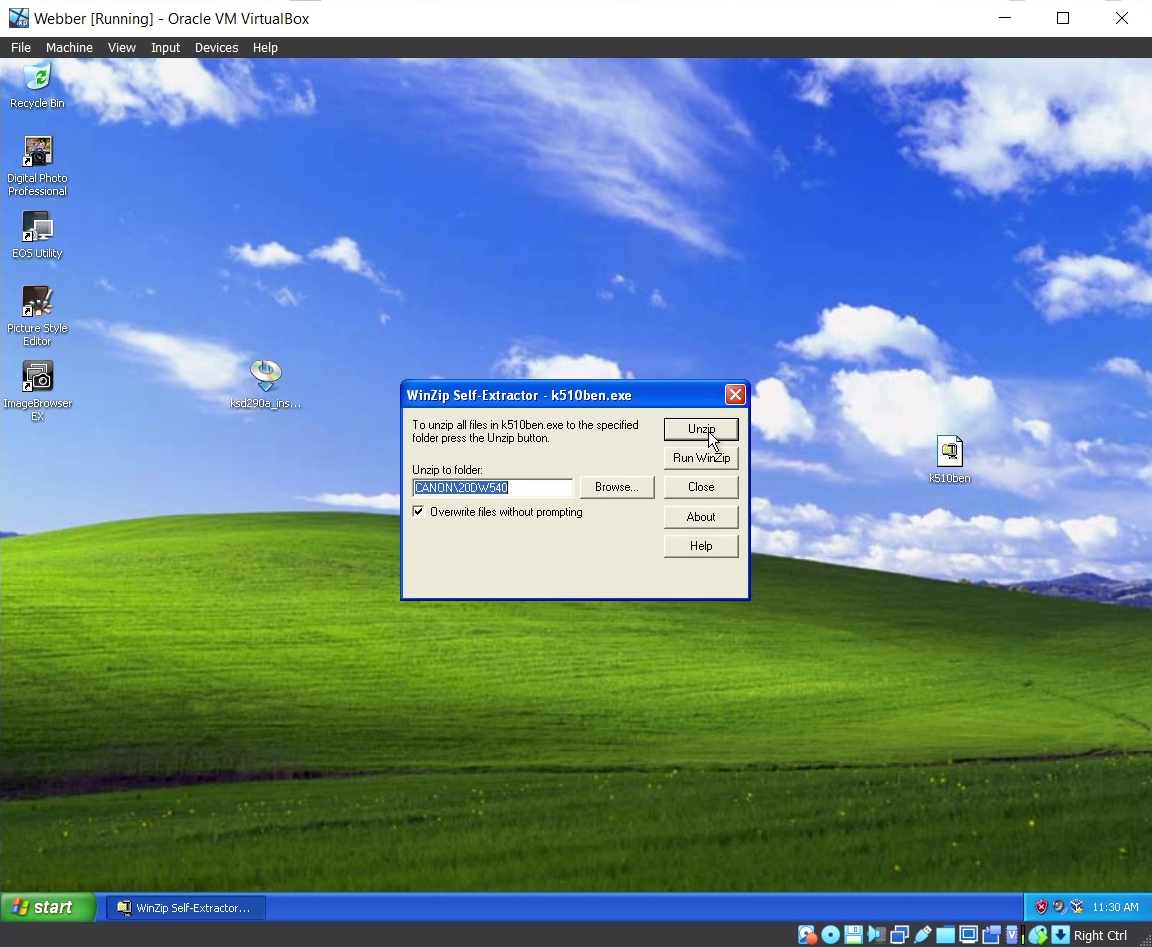
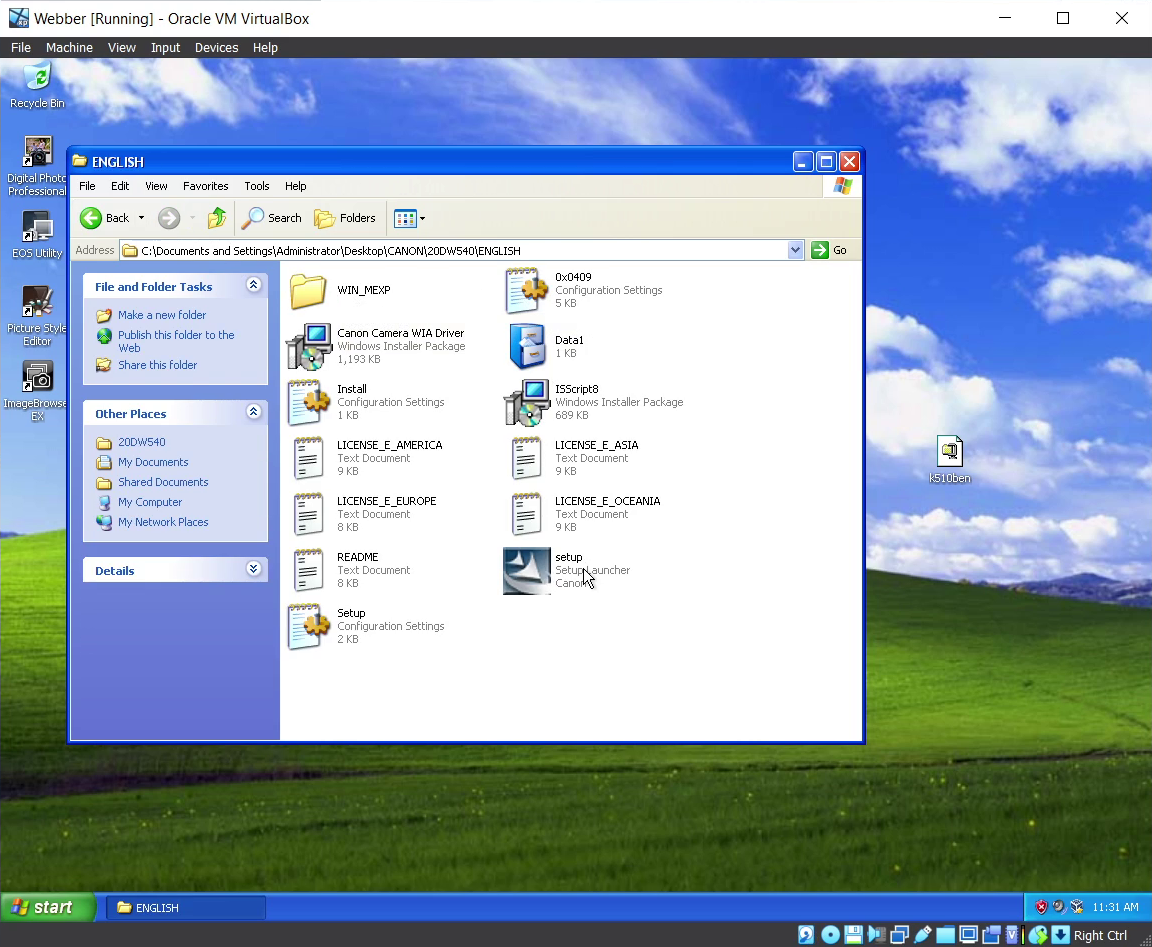
Once complete, run
k510ben.exe. PressUnzip. In theCANONfolder that was created, navigate to20DW540 > ENGLISHand runsetup.exe. Follow the installation instructions. -
Turn on your 20D.
On the camera, press the Menu button and set
Auto power offtoOff(so it doesn't power itself down while you use it) andCommunicationtoNormal. - Turn off your 20D. Connect the 20D to the computer via a USB cable. It doesn't have to be a “genuine Canon cable” or anything, any will do.
-
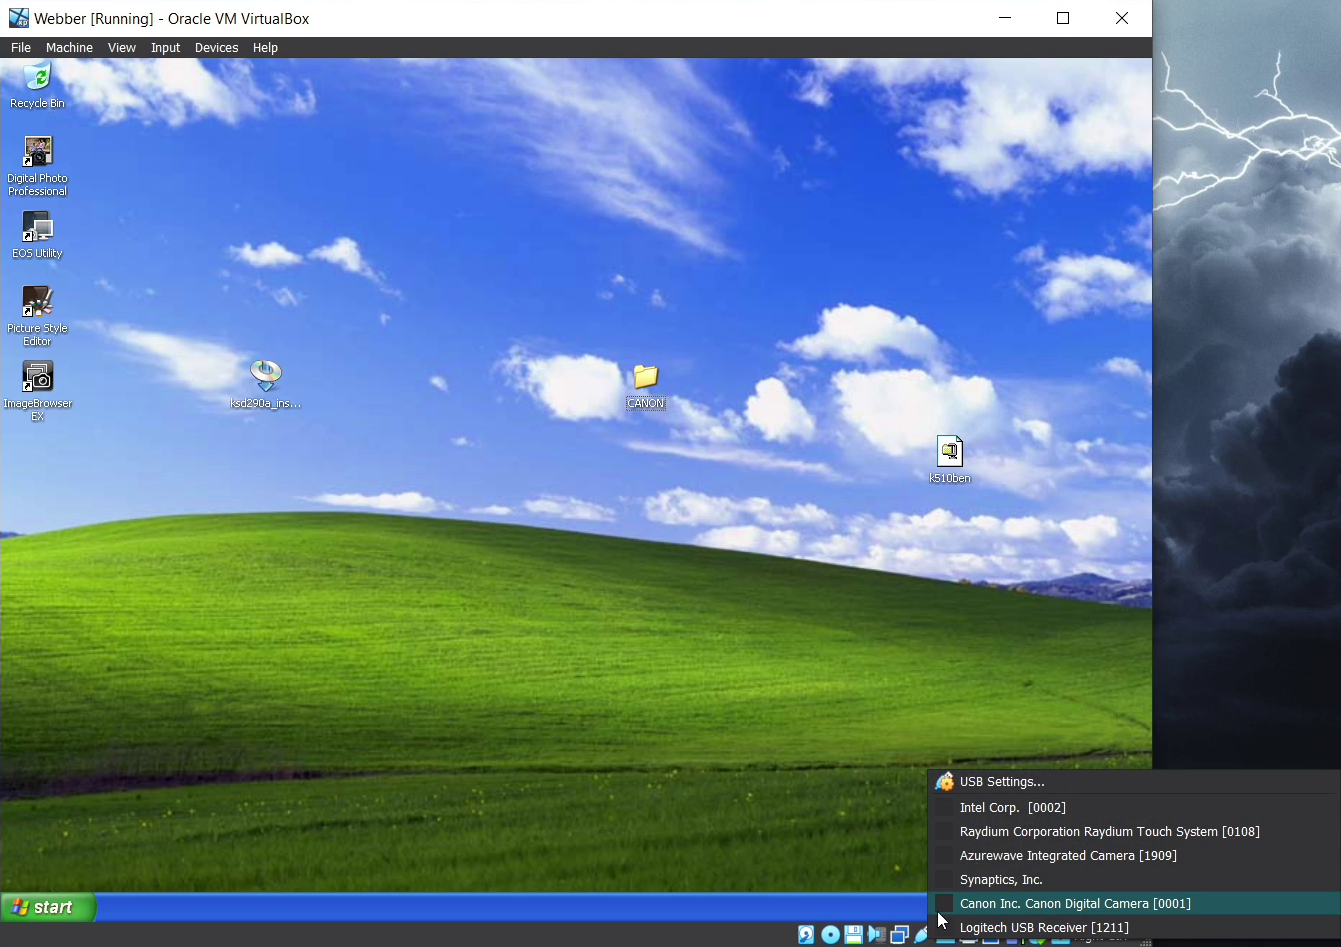
Turn your 20D back on.
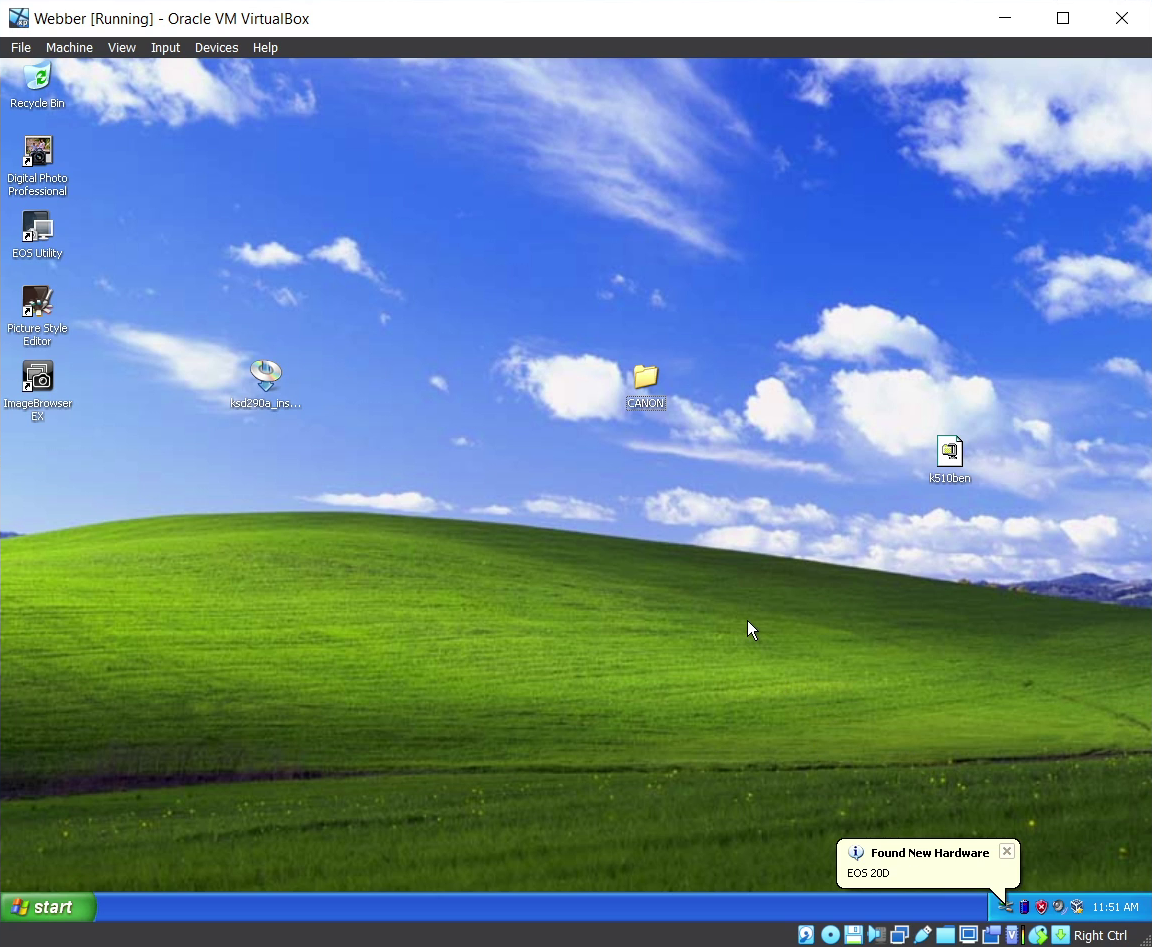
On the bottom right of the VM toolbar, right click the icon that looks like a USB cable and check the box next to Canon Inc. Canon Digital Camera.
Hopefully Windows XP will recognize it (it will play a sound and a
Found New Hardware
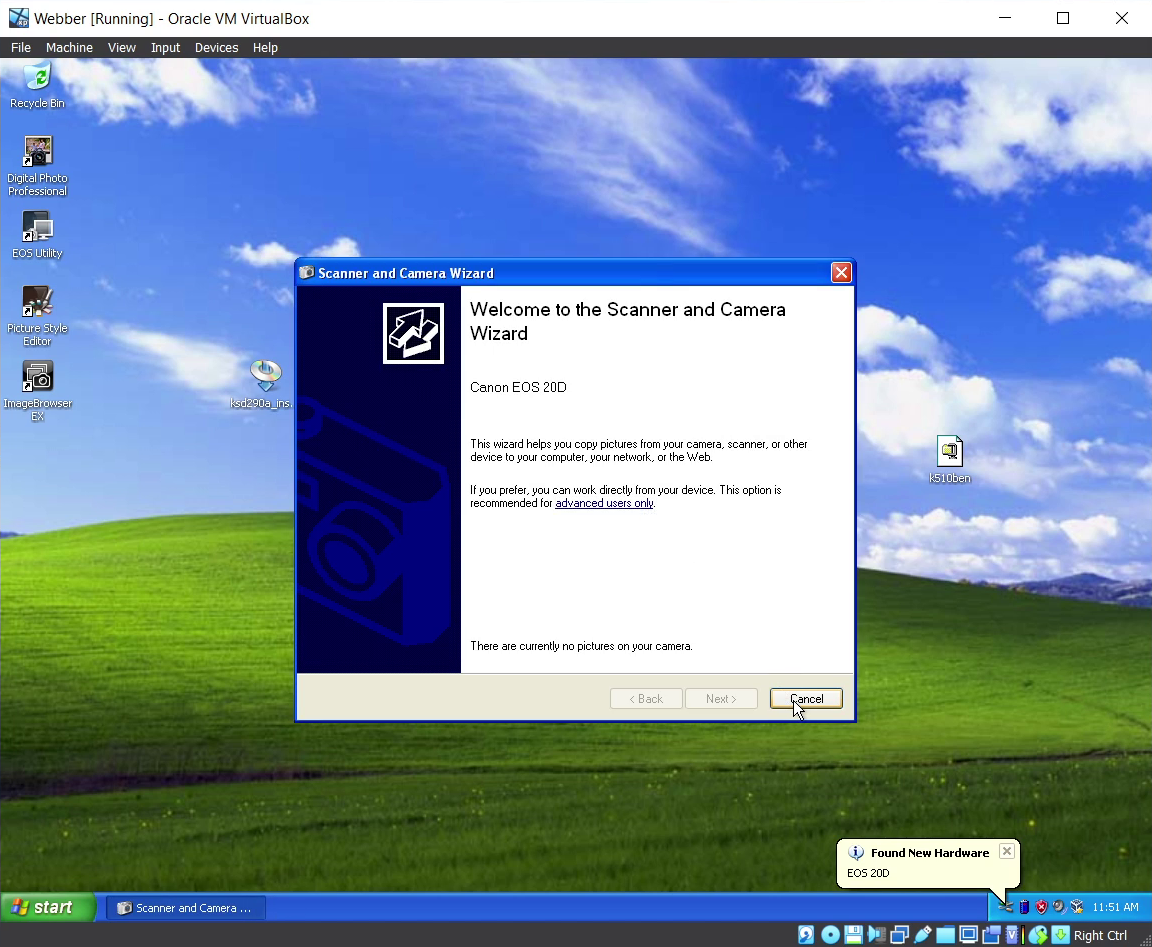
bubble will pop up). If it doesn't, turn off your 20D, unplug, and try again. - Once recognized, a Scanner and Camera Wizard might appear. Close it.
-
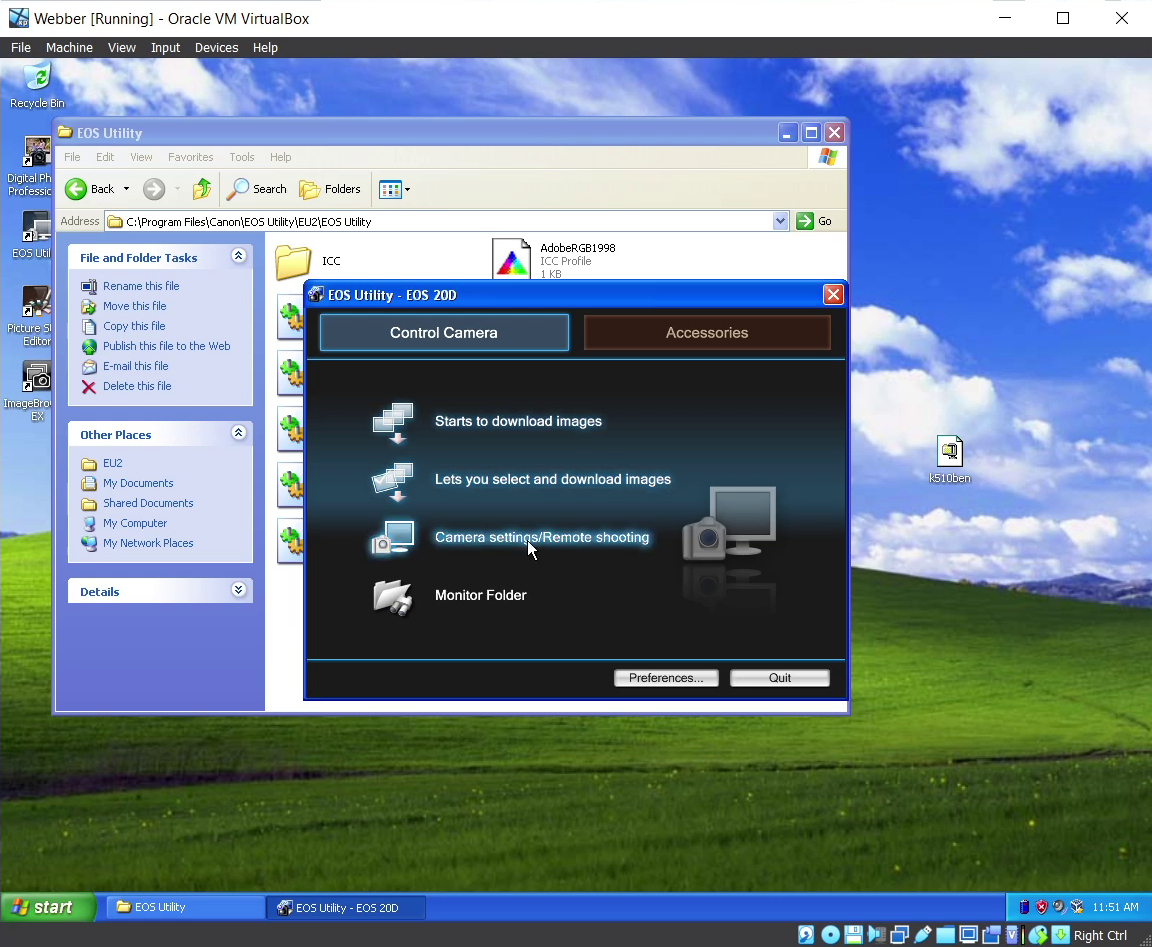
Navigate to
Start > My Computer > Local Disk (C:) > Program Files > Canon > EOS Utility > EU2 > EOS Utilityand runEOS Utility.exe.
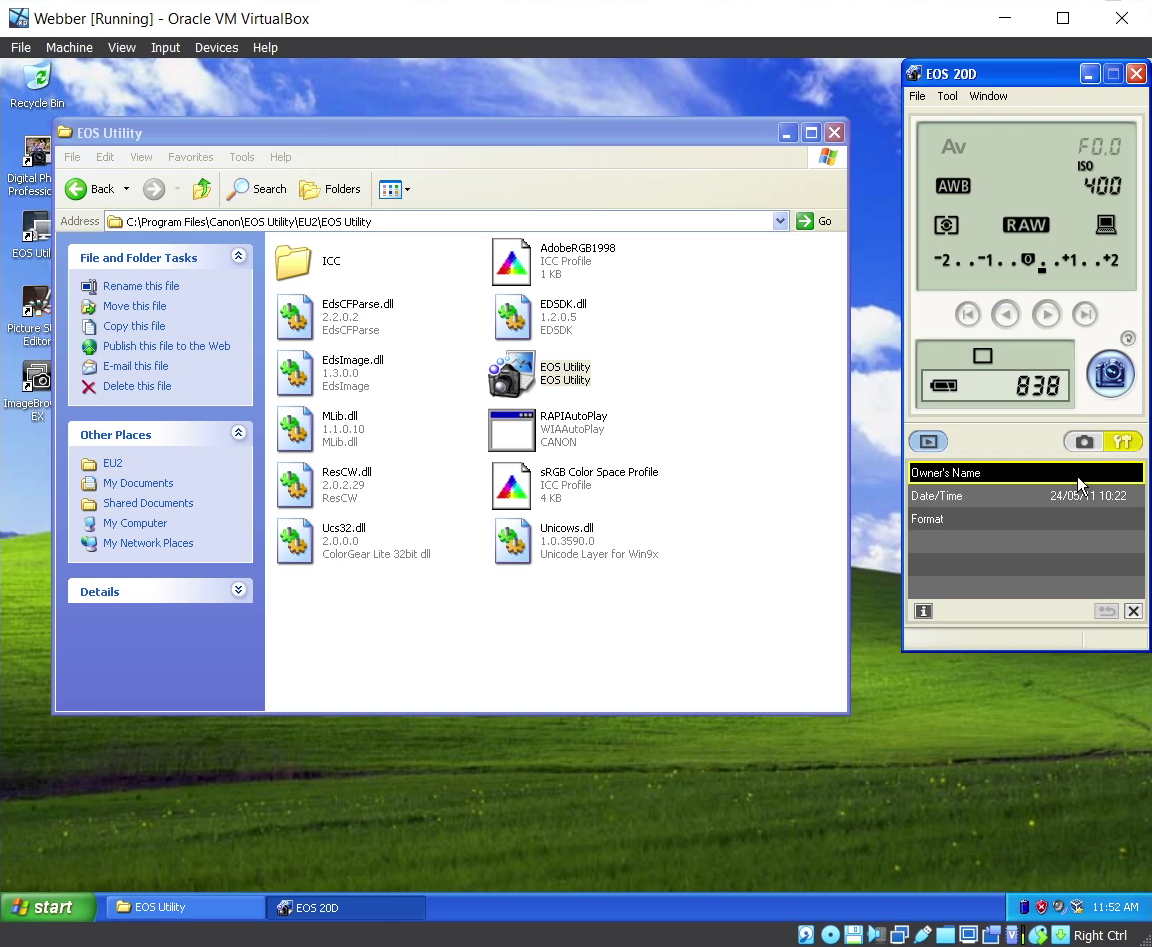
- Click on Camera settings/Remote shooting. In the window that opens, click on the tools icon on the bottom right. Double click on Owner's Name to change it. Ta-da, you're done!